

How to Do Batik Painting at Home
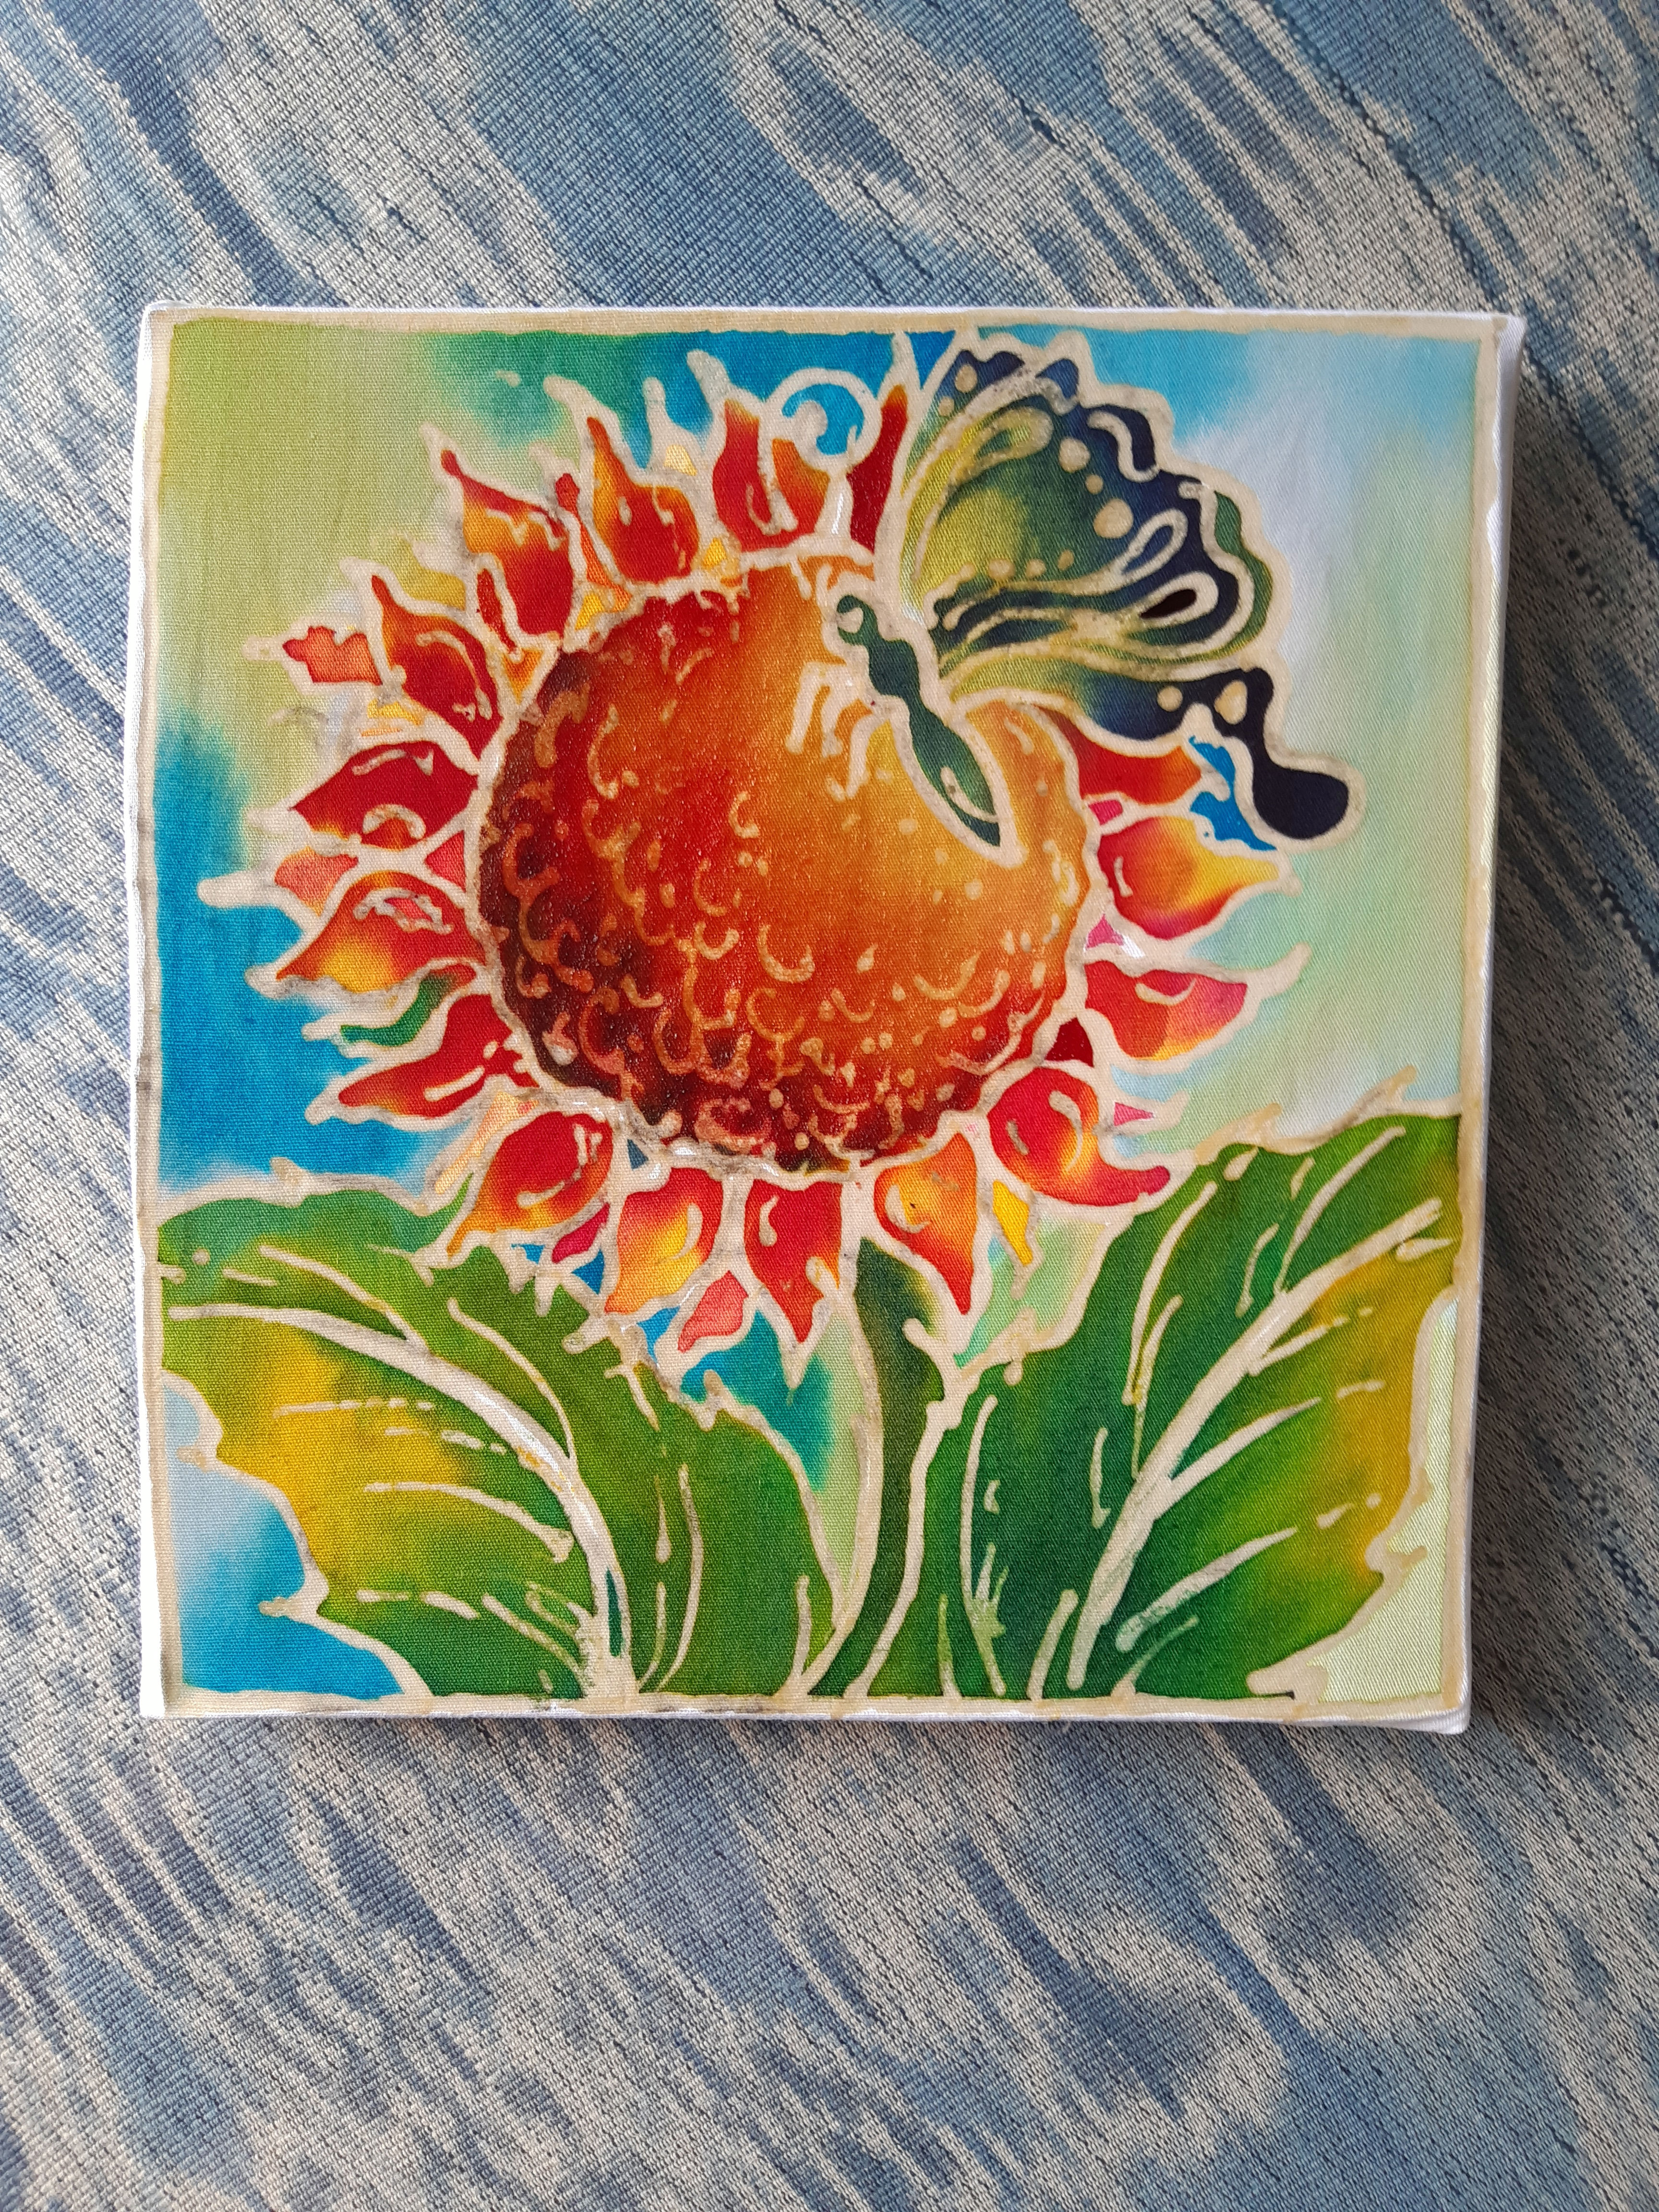
That first brush of dye across a wax-lined design is the moment batik starts to feel special. The color moves, the wax resists, and a simple outline turns into something handmade and vivid almost instantly. If you have been wondering how to do batik painting without getting stuck on the hardest part, the good news is that it can be much more approachable than many people expect.
Traditional batik is a heritage art form built around wax resist. Wax is applied to fabric to block certain areas from absorbing dye, which creates the signature lines and patterns batik is known for. The full process can be detailed and highly skilled, especially when the waxing is done by hand with a tjanting tool. For beginners, families, classrooms, and group events, pre-waxed batik makes the experience far easier while still keeping the look and spirit of real batik painting.
How to Do Batik Painting for Beginners
If your goal is to enjoy the painting part without learning wax application first, start with a pre-waxed piece. That means the design has already been outlined in wax, so you can focus on choosing colors, filling sections, and watching the pattern come to life. It is the easiest way to get started, especially if you want a relaxed project with a polished result.
A beginner-friendly setup usually includes a pre-waxed fabric panel or item, batik dyes or paints, a palette, brushes, water, and a protected work surface. Keep paper towels nearby because batik color can travel quickly on fabric, and that is part of the charm. You are not aiming for perfect control in every stroke. You are working with color, flow, and contrast.
Before you begin, lay your fabric flat and take a minute to study the wax lines. Those lines act as barriers, separating sections of the design. Once you understand how the spaces connect, it becomes easier to plan your colors and avoid muddy combinations.
Set Up Your Space the Simple Way
Batik painting does not need a full studio. A kitchen table, classroom table, or craft table works well as long as the surface is covered. Good lighting helps because the wax lines can be subtle at first, especially on lighter fabric.
Arrange your colors so you can move from light to dark. That order is not a strict rule, but it does help. Lighter shades are easier to layer over at the beginning, while darker shades can define the design later. If you are painting with children or in a group setting, keeping each color in its own section of the palette makes the activity feel calmer and more organized.
This is also where expectations matter. Batik is not paint-by-number. Some dye may spread softly within the waxed area, and some shades may blend at the edges. That organic look is part of what gives batik its character.
Step-by-Step Batik Painting Process
Start by testing a small area with a light color. Dip your brush lightly and touch the fabric rather than scrubbing it. The dye will begin to absorb and spread through the unwaxed area. Let the fabric do some of the work.
Move section by section instead of trying to paint the whole piece at once. This keeps your hand from dragging through wet areas and gives you more control over the color story. If your design has flowers, leaves, geometric shapes, or calligraphy details, finish one element at a time so the piece builds naturally.
When you want stronger contrast, leave a small section lighter next to a darker color. Batik tends to look best when there is breathing room between intense shades. If every section is equally bold, the design can start to feel flat. A little white or pale color helps the pattern stand out.
Choosing Colors That Work Well
If you are unsure where to start, pick two main colors and one accent. That is often enough for a balanced piece. Blue and green feel calm and botanical. Orange, pink, and yellow feel playful and bright. Deep purple with gold or warm red can create a more decorative, gift-ready look.
It also helps to think about who the project is for. A child may enjoy rainbow sections and bold contrast. A classroom project may work better with a limited palette to keep things tidy. A wall art piece or notebook cover might call for more restrained tones that fit a room or personal style.
How Wet Is Too Wet?
One of the most common beginner mistakes is overloading the brush. Too much liquid can pool, bleed over tiny wax gaps, or make the fabric take longer to dry. Use enough color to saturate the section, but not so much that it puddles heavily.
If a section gets too wet, blot gently with a paper towel. Do not rub. Rubbing can push color where you do not want it and disturb the clean effect of the wax resist lines.
What Makes Pre-Waxed Batik So Helpful
The waxing stage is beautiful, but it is also the stage that asks for the most practice. Applying hot wax with a tjanting tool takes a steady hand, attention to temperature, and familiarity with fabric flow. That is why many people who love the look of batik never actually try it.
Pre-waxed batik changes that. It removes the technical barrier without removing the pleasure of the art. You still see how color behaves inside the waxed shapes. You still get the contrast, pattern, and handcrafted feel. You simply begin at the part most people enjoy most - painting.
For parents, that means less prep and less mess. For teachers and workshop organizers, it means a project that is easier to manage in groups. For hobby crafters, it means you can sit down and create something beautiful without turning the day into a full materials lesson.
Brands like Tumadi Batik build on that idea by offering ready-to-paint sets that keep the process accessible while staying connected to traditional batik roots.
Tips for Better Results Without Making It Complicated
Let each section settle before painting the one right beside it if the spaces are small. This reduces accidental blending and gives your outlines a cleaner look. If you want blending, do it intentionally by placing two colors next to each other while both are still damp.
Use smaller brushes for narrow sections and larger ones for open areas. That sounds obvious, but it makes a huge difference in control. A brush that is too large can turn delicate details into a frustrating mess.
Do not chase perfection. Handmade batik has personality. A few uneven edges or unexpected blends often make the finished piece feel more alive, not less finished.
If you are painting with a group, give everyone the same basic guidance but let color choices vary. Batik is especially rewarding in parties, classrooms, and events because the same design can look completely different from one person to the next.
Drying, Finishing, and Displaying Your Work
Once the painting is complete, let the piece dry fully on a flat surface. Drying time depends on the amount of dye used and the thickness of the fabric, so patience helps here. Moving it too soon can transfer color or smudge areas that seemed dry on top.
Some batik projects are meant to stay as painted decorative pieces, while others may be used as practical items such as bookmarks, wall hangings, or giftable crafts. The finishing method depends on the product and materials you started with. If you are using a kit, follow the included instructions for drying and care, since different dyes and fabrics can behave differently.
If your finished piece will be displayed, think about contrast around it. Batik tends to stand out beautifully against simple backgrounds, natural wood, or neutral walls. If it will be gifted, a clean presentation matters just as much as the painting itself. Even a small painted item feels thoughtful when the colors are chosen with care.
Is Batik Painting Good for Kids and Groups?
Yes, with the right format. Traditional hot wax batik is not the easiest first craft for young children, but pre-waxed batik painting is much more suitable. It gives kids the satisfaction of real fabric art without introducing the most technical part of the process.
For classrooms and events, the main advantage is structure. Everyone starts with a prepared design, which keeps the project moving. At the same time, each person still has room to make their piece unique through color choices and painting style. That balance is one reason batik works so well for family craft time, art sessions, and party activities.
If you are new to the craft, start simple, trust the wax lines, and let the color surprise you a little. Batik painting is at its best when it feels creative, not intimidating.


Comments