

Art Workshop Setup Checklist for Easy Batik
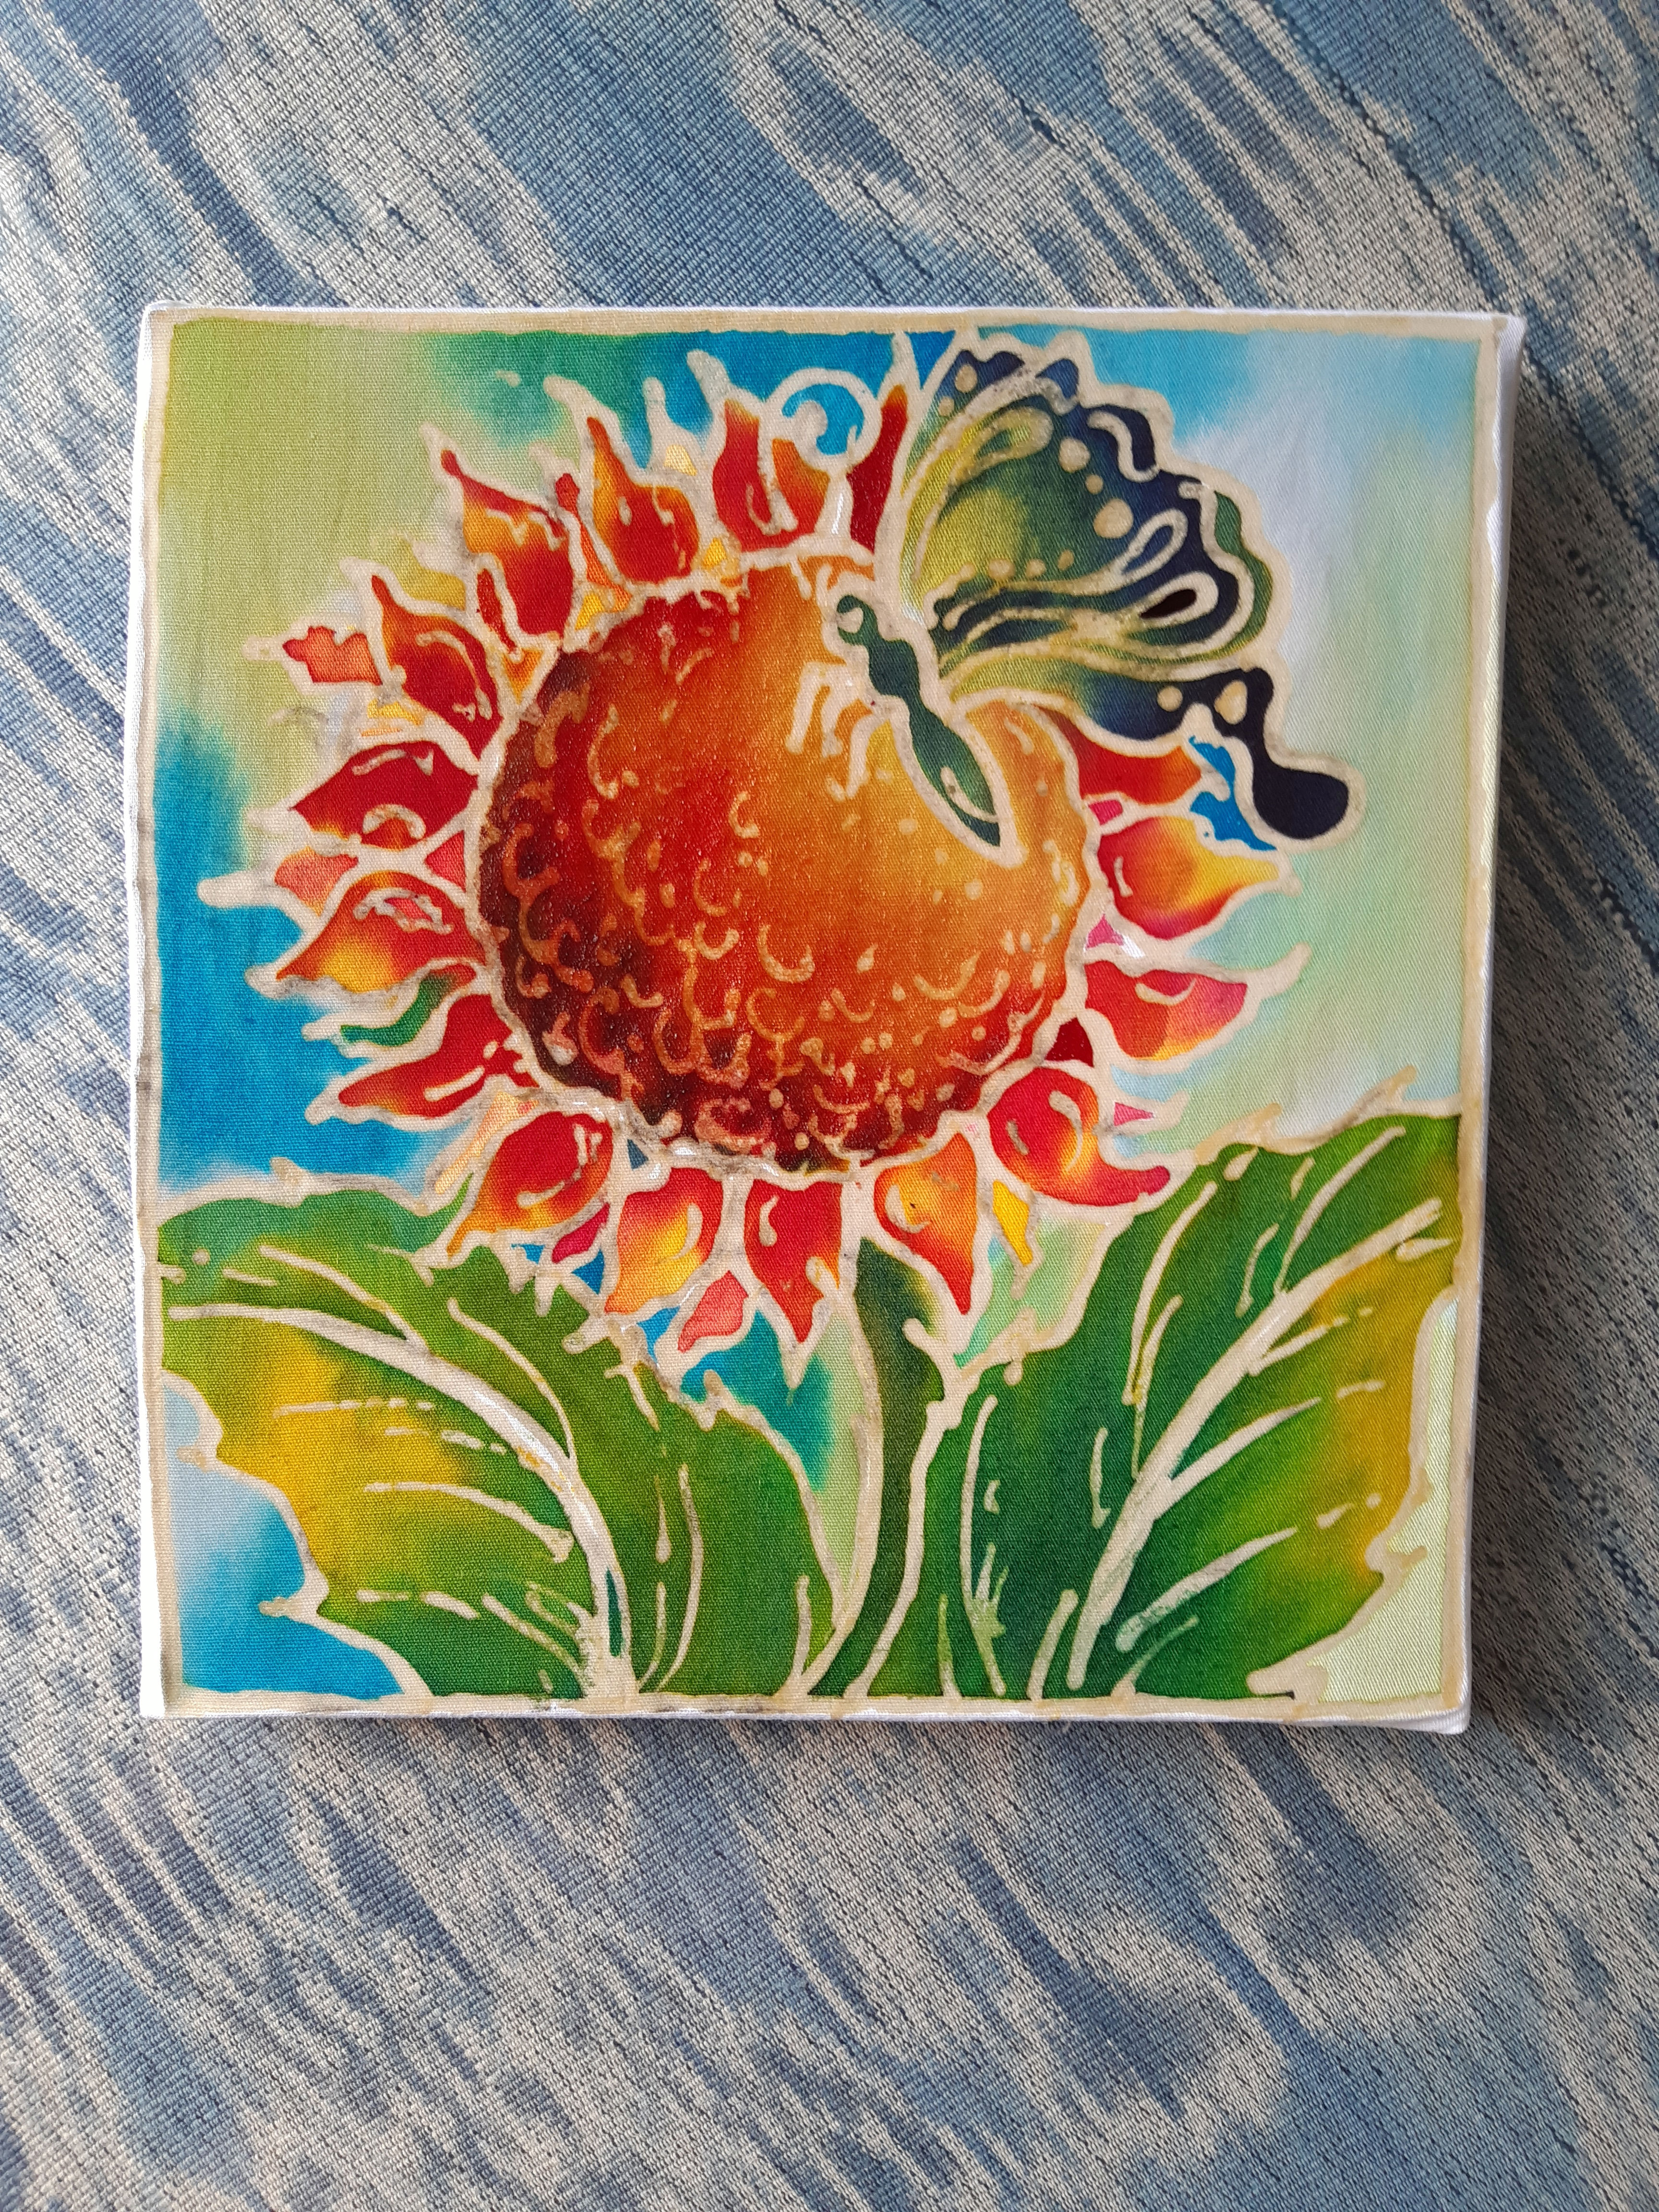
The first 10 minutes of any workshop usually decide the mood for the whole session. If people are hunting for water cups, sharing one brush between three seats, or wondering where to put wet artwork, creativity stalls fast. A solid art workshop setup checklist keeps the session calm, welcoming, and easy to follow - especially when you are hosting a batik painting activity for beginners, children, families, or mixed-age groups.
Batik workshops are a little different from standard paint sessions. Participants are not starting from a blank page and that is part of the appeal. With pre-waxed batik pieces, the design is already outlined, so the experience feels approachable right away. That also means your setup should support flow, color confidence, and clean handling from the moment each person sits down.
Why an art workshop setup checklist matters
A good setup does more than make a room look organized. It shapes how confident people feel. When supplies are clearly placed and the process is easy to understand, beginners relax and start painting sooner. Teachers and event hosts feel that difference too because they spend less time troubleshooting and more time guiding.
This is especially true for batik. The beauty of the craft comes from color placement inside wax-resist lines, so participants need enough space, a steady surface, and simple access to dyes, palettes, brushes, and drying areas. If the setup is too cramped or messy, the artwork can still turn out well, but the experience feels harder than it needs to.
Start with the room, not the supplies
Before you sort a single brush, look at the space itself. The best workshop rooms are easy to move through, have decent lighting, and give each person enough elbow room to paint without bumping into their neighbor. Natural light helps with color choice, but bright indoor lighting works well too if it is even and not too dim.
Table shape matters more than people think. Long rectangular tables are efficient for classes and events because they let you place shared materials in the center. Round tables can feel more social, which is great for parties or family sessions, but they can make it harder to create a clear teaching focal point. If you are working with younger kids, leave extra room around each seat. They tend to spread out quickly.
You also want a space for finished pieces to dry safely. This is one of the most commonly missed parts of an art workshop setup checklist. Wet artwork should not be balanced on chair backs or stacked on random corners. Set aside a dedicated drying table before guests arrive.
The core batik materials to prepare
For a batik painting workshop, your supplies should feel complete but not overwhelming. Participants do better when they can see exactly what they need at a glance. If you are using ready-to-paint batik sets, much of the planning becomes simpler because the project surface, design, and painting tools are already matched.
At minimum, each participant should have a pre-waxed batik piece, access to batik dyes or fabric paints, a palette, brushes in a couple of useful sizes, water, and paper towels or napkins. A protective table cover is always worth adding, even for short sessions. It makes cleanup easier and helps guests relax about spills.
A few extras can make the workshop run much more smoothly. Small sample boards help people test color combinations before painting the real piece. Disposable aprons or old shirts are useful if your group includes children or if the session is part of a party. Name labels are helpful for classes where multiple artworks will be drying side by side.
There is a balance to strike here. Too few materials creates waiting and frustration. Too many choices can slow people down, especially first-timers. For beginner batik sessions, a curated palette usually works better than offering every possible color.
Set each seat for confidence
The best workshops feel easy from the first glance. When participants sit down, they should immediately understand where to begin. That means each place setting should be neat, simple, and consistent.
Put the batik piece in the center, brushes to one side, palette above or beside it, and water where it will not tip easily. Keep paper towels within reach. If your dyes are shared rather than individual, place them in the center of the table in a way that all participants can reach without stretching across someone else's work.
This is where beginner-friendly batik really shines. Because the wax lines already define the pattern, participants can focus on color instead of drawing accuracy. That makes the setup feel less intimidating, which is a major benefit for classroom groups, family craft sessions, and event-based activities.
Build a simple teaching flow into the setup
An organized room should quietly guide the workshop. People should be able to see the demo area, hear instructions, and move from painting to drying without asking constant logistical questions.
If you are leading the session, keep one completed sample and one in-progress sample at the front. The finished piece shows what is possible. The in-progress piece is even more useful because it helps people understand how colors behave step by step. In batik, seeing the order of application often matters more than hearing a long explanation.
You can also place a small instruction card at each seat if the group is large. Keep it short. A few prompts are enough, such as testing colors first, painting light areas before dark ones, and leaving completed work on the drying table. Long printed instructions tend to be ignored once the painting starts.
Timing, pacing, and group size
Not every workshop needs the same setup. A 30-minute kids' activity station is different from a 90-minute guided art session. Your checklist should change based on the pace you want.
For quick event workshops, simplify everything. Use fewer colors, smaller batik pieces, and a faster seating turnover plan. For longer sessions, you can offer more design choices and allow time for color experimentation. If the group includes both children and adults, aim for a middle ground that feels creative but not complicated.
Group size affects supply planning too. Smaller groups can share materials more comfortably. Larger groups need more duplication. One water container per person is often cleaner than a few large shared cups, but it depends on your budget and table space. Shared dye stations can work well if traffic flow is easy. If not, individual or paired supply sets reduce crowding.
Don’t forget protection and cleanup
A workshop feels more welcoming when participants know mess is expected and managed. Cover tables before the session starts. Keep wipes, paper towels, or cloths nearby for quick spills. Place a trash bag or bin where it is visible and easy to reach.
Cleanup planning is part of the creative experience, not a separate afterthought. If brushes need rinsing, make sure there is a clear place for used water. If participants are taking artwork home while still slightly damp, have a simple carrying solution ready, such as a flat tray area or protective sheet.
For hosts, this is often the difference between a fun event and a stressful one. A thoughtful cleanup station protects the venue, keeps the room looking tidy, and makes the final minutes of the workshop feel calm instead of rushed.
The art workshop setup checklist that actually works
If you want a practical art workshop setup checklist for batik, think in five zones: seating, supplies, instruction, drying, and cleanup. When all five are covered, the workshop usually runs well.
Your seating zone should have enough personal space, good light, and protected tables. Your supply zone should include the full painting kit without clutter. Your instruction zone should make it easy to see samples and hear guidance. Your drying zone should keep finished pieces safe and clearly labeled. Your cleanup zone should handle spills, used materials, and end-of-session packing.
That framework works for home crafting, school projects, community events, and beginner batik classes alike. It is flexible enough to fit different group sizes without losing structure.
A few setup choices that depend on your audience
If you are hosting children, keep the process shorter and the tables simpler. Fewer brush sizes and fewer color choices usually lead to better focus. If you are working with adults or hobbyists, they may enjoy more freedom to blend colors and take their time.
For parties and family sessions, convenience matters most. Ready-to-paint batik sets are especially useful here because they remove the hardest preparation step and let everyone participate right away. That is one reason brands like Tumadi Batik appeal to organizers who want something artistic, culturally rooted, and easy to run without specialized training.
For classrooms, consistency matters more than variety. Matching materials across seats makes instruction smoother and reduces delays. For gift-making events or keepsake workshops, presentation matters too, so leave enough room for people to admire finished pieces as they dry.
The best setup is not the most elaborate one. It is the one that makes people feel ready to create within minutes. When the space is clear, the tools are prepared, and the process feels friendly, batik becomes what it should be - expressive, memorable, and easy to enjoy. A little planning behind the scenes gives everyone more room to play with color once the workshop begins.


Comments