

How to Teach Batik to Children Simply
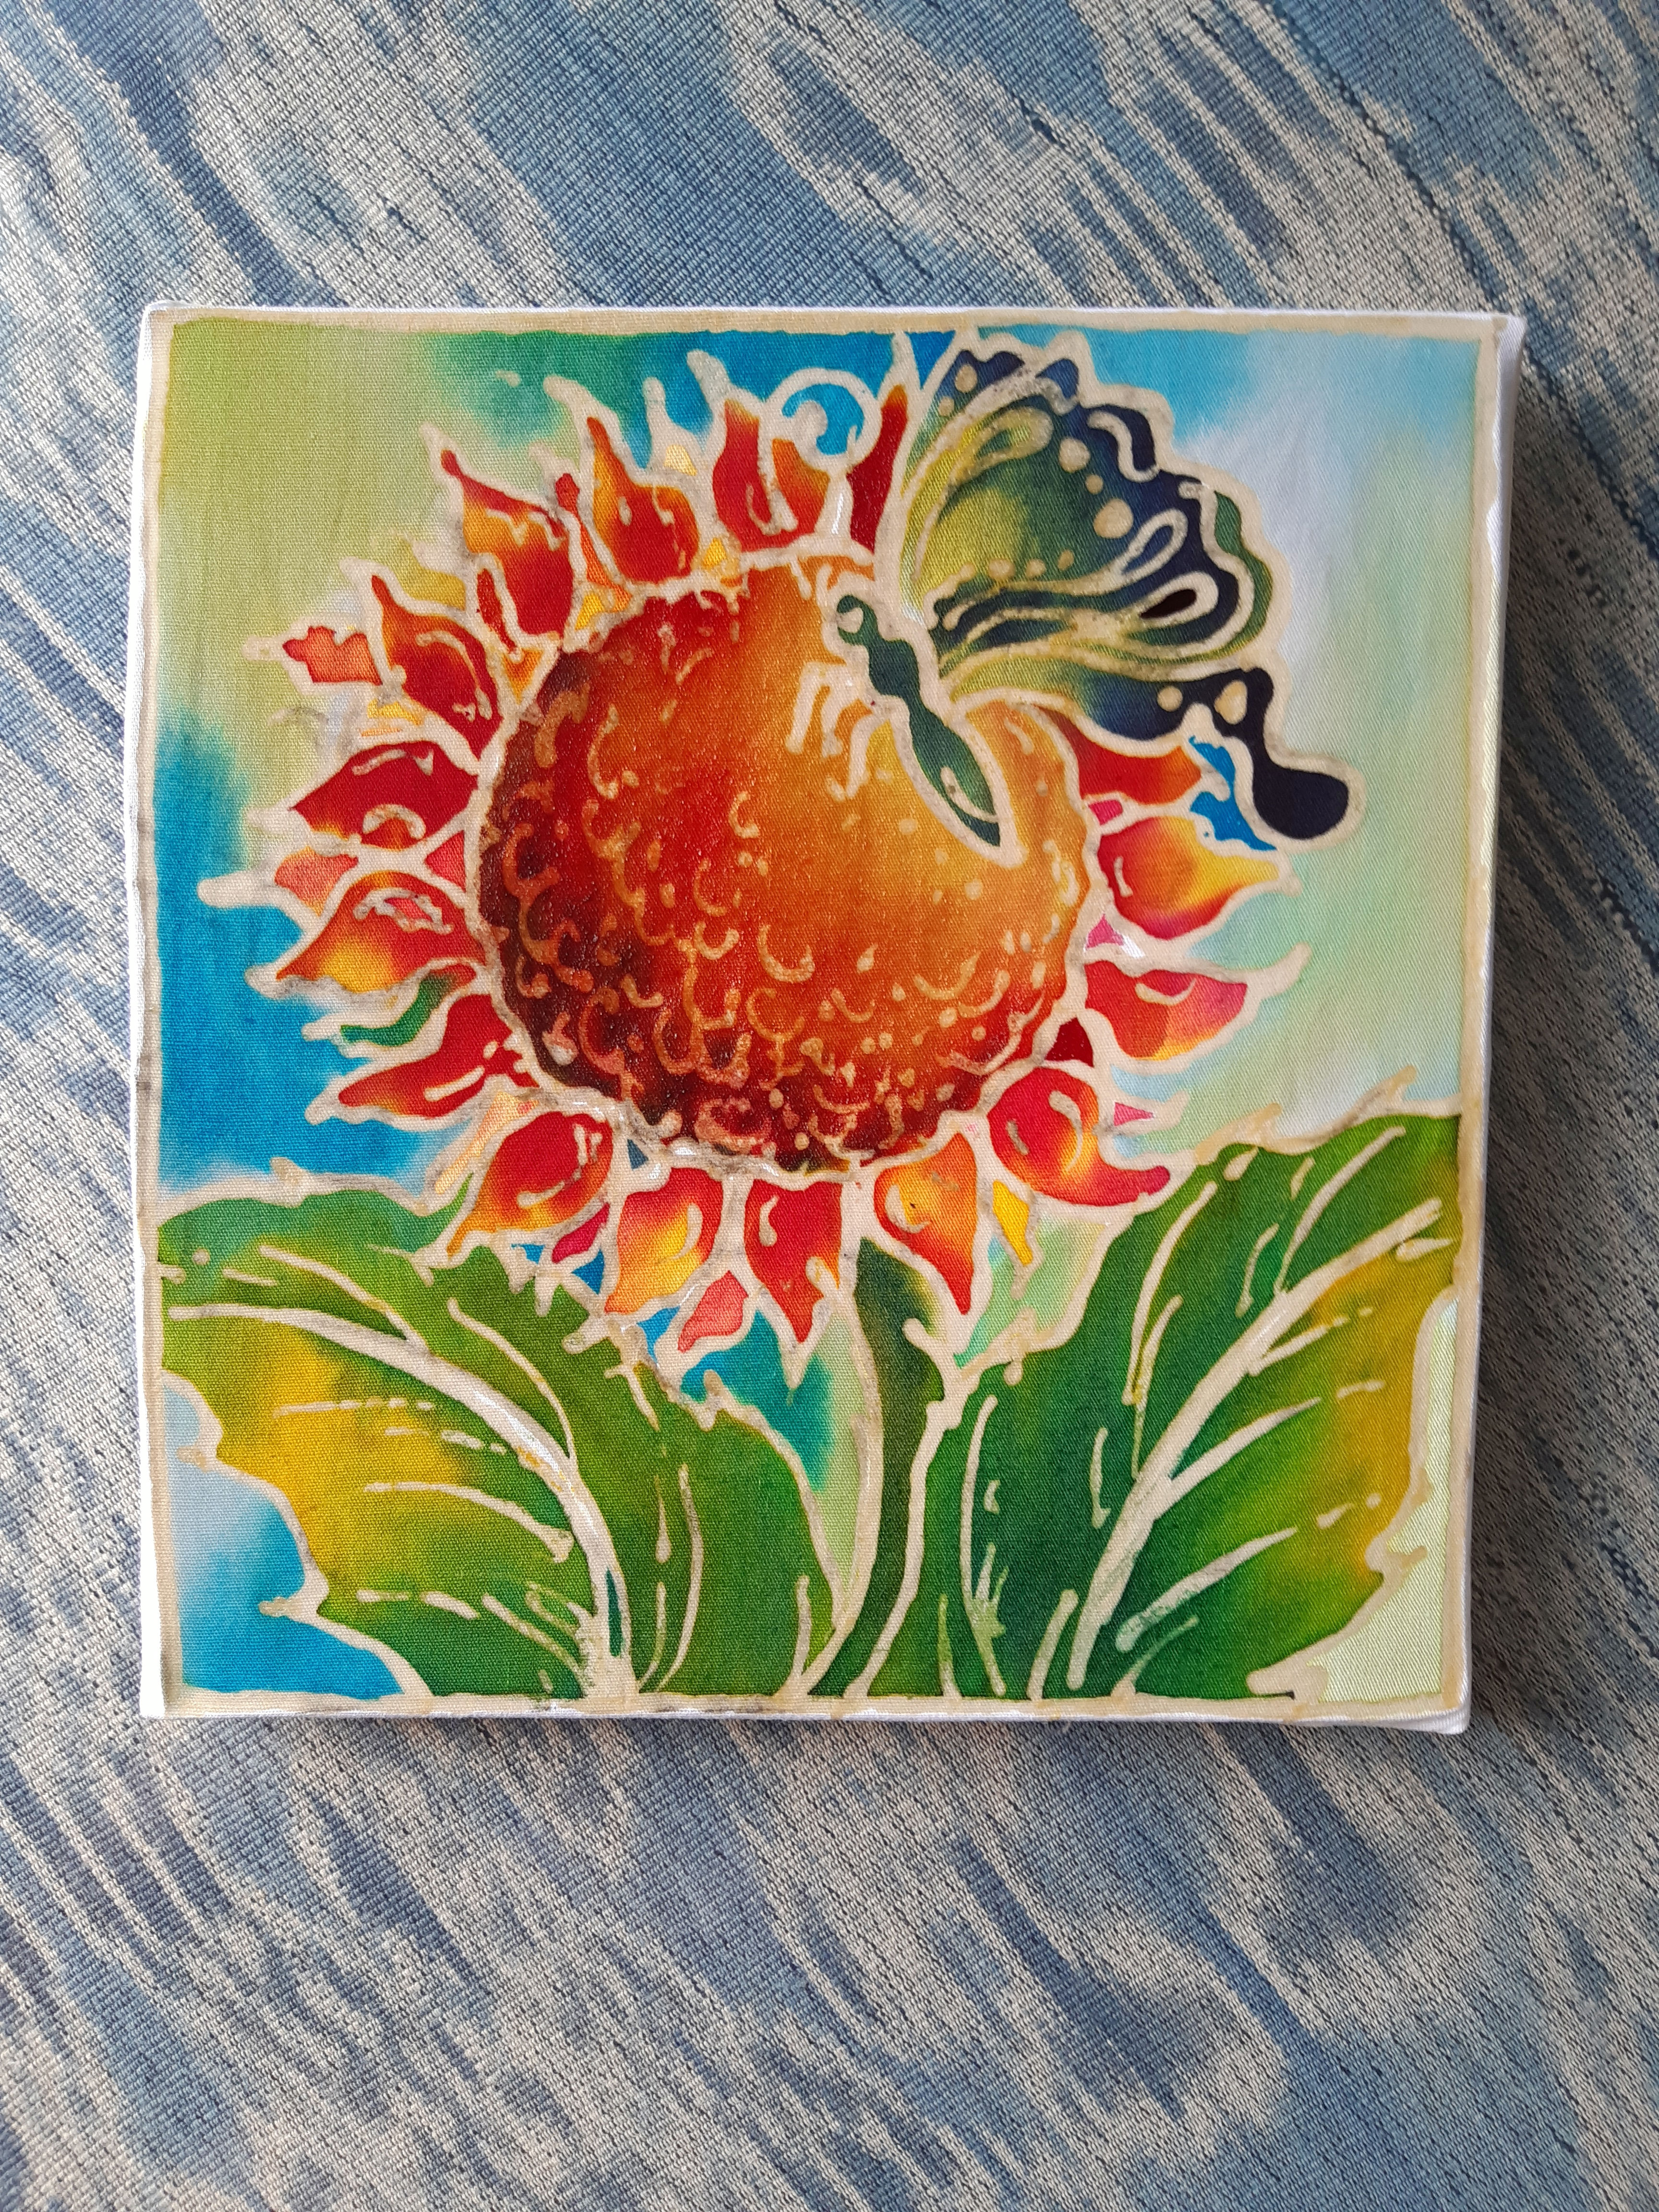
A child with a brush in one hand and a bright tray of dye in front of them does not need a long lecture on textile history. They need a clear first step, a design they can actually finish, and the confidence that batik is something they can enjoy right away. That is the heart of how to teach batik to children - make the process feel special, but never complicated.
Batik has real cultural depth, and that matters. But with children, the best introduction is hands-on. If the setup is too technical or the project takes too long, attention disappears fast. If the activity feels approachable and the results look beautiful early on, children stay curious, focused, and proud of what they make.
Why batik works so well for children
Batik is one of those rare art activities that gives kids both structure and freedom. The wax-resist lines create built-in boundaries, which helps younger artists feel successful. At the same time, the open spaces invite personal color choices, experimenting, and playful combinations.
That balance is what makes it especially good for mixed ages. A seven-year-old can enjoy filling shapes with bold color, while an older child can start thinking about shading, pattern, and contrast. Everyone works within the same tradition, but at their own level.
There is also a tactile quality that children love. The brush moves differently across fabric than it does across paper. The colors soak in, blend softly, and create a finished piece that feels more meaningful than a quick worksheet craft. It looks like real art because it is real art.
How to teach batik to children without making it too technical
The easiest way to teach batik to children is to separate appreciation from difficulty. Children do not need to begin by learning hot wax application or handling specialist tools. They can first learn what batik is, why the wax lines matter, and how color interacts with cloth.
That is why beginner-friendly, pre-waxed batik surfaces work so well for homes, classrooms, and group events. The outlines are already in place, so children can focus on painting, color decisions, and the pleasure of watching the design come alive. You preserve the character of batik while removing the part that is least practical for most young beginners.
This approach is not about watering the craft down. It is about teaching the right layer first. When children enjoy their first experience, they are far more open to learning more about the tradition behind it.
Start with a short, vivid introduction
Keep the opening explanation brief. Tell children that batik is an art form made on fabric, and that wax helps create the lines and shapes that guide the color. Show them how the dye stays within sections and how each person can choose different colors even when using the same design.
For younger kids, that is enough. For older children, you can add a little more about traditional batik methods and how artisans use tools such as a tjanting to apply wax. The goal is not to turn the first ten minutes into a history lesson. It is to help children feel they are taking part in something creative and meaningful.
Choose the right project size
One of the biggest mistakes adults make is starting too big. A large fabric piece with many tiny areas can overwhelm children before they begin. Smaller projects with clear shapes are easier to complete and much more satisfying.
Bookmarks, small panels, and simple motif-based designs tend to work better than highly detailed scenes for first-time batik painters. Children need enough space to paint comfortably, especially if they are still developing brush control.
If you are teaching a group, it also helps to choose projects that can be finished in one sitting. Momentum matters. A child who can take home a completed piece is much more likely to remember the experience fondly.
Set up the session for success
Good teaching starts before the first brush touches the fabric. Prepare the workspace so children can move through the activity with minimal frustration. Cover the table, keep water nearby, and portion colors in a way that is easy to share.
Try not to overload the palette. A smaller range of colors often leads to better results, especially with beginners. Too many choices can slow children down or turn the piece muddy. A few bright colors plus one darker shade usually gives them plenty of room to experiment.
It also helps to demonstrate three simple habits at the start: dip lightly, paint inside one section at a time, and clean the brush before switching colors. Those tiny instructions prevent a lot of mess without making the activity feel rigid.
Demonstrate, then step back
Children learn batik best by seeing the process once and then trying it themselves. Paint one small section in front of them. Show what happens when the brush is too wet and what happens when the color is applied gently. Then let them begin.
Resist the urge to correct every choice. Batik is not supposed to look machine-made. If a child wants a purple leaf or a rainbow fish, that is not a problem. The point is to help them understand the process and enjoy the medium.
Support matters more than control. Instead of saying, "No, do it this way," try, "You can make that area lighter if you use less dye," or, "Let's finish one section before adding another color." That keeps the tone encouraging while still teaching technique.
Age-friendly ways to teach batik
How to teach batik to children depends a lot on age, patience, and setting. A family craft afternoon at home feels different from a classroom session or a birthday party table.
For younger children, keep directions very simple and focus on color filling. They usually respond best to bold shapes, quick progress, and repeated reassurance. Expect some color mixing and uneven brushwork. That is part of the learning.
For elementary-age children, you can introduce more intentional choices. Ask them which colors stand out, where they want contrast, or how they want the design to feel - calm, bright, warm, or playful. These small questions help children start thinking like artists without making the project feel academic.
Older children often enjoy more ownership. Let them plan a color scheme first or compare two different approaches on similar designs. This is where batik can shift from simple craft time into real creative practice.
Keep the cultural side present and respectful
Batik is fun, but it is not just a quick trend craft. When teaching children, it is worth naming batik as a traditional art form with roots in a rich cultural heritage. You do not need a formal lecture. A few respectful sentences can frame the activity well.
Say that batik has been practiced for generations and that many artists have developed beautiful methods and patterns over time. That helps children understand they are not just painting random fabric. They are being introduced to an art form with history and meaning.
For brands like Tumadi Batik, this is where beginner accessibility and heritage can work together beautifully. A simplified format can still honor the tradition when the presentation is thoughtful and the materials are designed with care.
Common challenges and what to do about them
Some children rush, some freeze, and some want every section to be perfect. All of that is normal. The best response is to match the child, not force one pace for everyone.
If a child is rushing, encourage them to pause between sections and notice how the colors are spreading. If a child is hesitant, suggest starting with the smallest section first. One finished area often removes the fear of beginning.
If the colors start blending more than expected, do not treat it like failure. Batik has a soft, fluid quality, and a little blending can be beautiful. What matters is helping children notice cause and effect. Too much water creates one result. A drier brush creates another.
This is also why perfection should never be the standard. Children are much more likely to enjoy batik when they feel free to experiment instead of trying to produce an adult-looking piece.
Teaching batik in groups, classes, and parties
Group batik sessions can be wonderful, but they need a little structure. Give everyone the same opening demo, then move around the room rather than reteaching the whole process repeatedly. Children stay more engaged when they can begin quickly.
It helps to stagger support. Some children only need encouragement, while others need help with brush loading or color planning. In classrooms and events, pre-waxed kits are especially practical because they remove bottlenecks and let the group focus on the art experience rather than setup complexity.
The biggest trade-off in group settings is time versus depth. You may not be able to teach every detail of traditional batik in one session. That is fine. A joyful first experience is still valuable. It creates the kind of interest that makes children want to return to the craft later.
The best way to teach batik to children is to make room for wonder, not pressure. Let them see that traditional art can be warm, approachable, and fully within reach. When a child looks at a finished batik piece and says, "I made that," you have done more than teach a project - you have opened a door.


Comments